In this DIY tutorial, we will provide you with a step-by-step guide on how to make custom trunk panels for your car. Whether you want to upgrade your car’s interior or add a personal touch, this guide will help you achieve a sleek and customized finish. Let’s get started on creating your unique trunk panels!
Key Takeaways:
- Learn how to make custom trunk panels for your car.
- Upgrade your car’s interior with personalized trunk panels.
- Follow our step-by-step guide for a sleek and professional finish.
- Gather the necessary materials and tools before starting.
- Create a template and assemble the panels with precision.
Materials and Tools
Before diving into the process of making custom trunk panels, it’s essential to gather all the necessary materials and tools. Having everything you need on hand will ensure a smooth and efficient DIY experience. Here’s a list of the materials and tools you’ll require:
- Pencil
- Paper
- Scissors
- Thin cardboard
- Painter’s Tape
- Hot melt glue gun
- Fabric of choice (e.g., faux leather, suede)
Make sure you have these materials readily available before proceeding to the next step. Having them organized and within reach will streamline the process of creating your custom trunk panels.
Creating the Template
In order to create custom trunk panels for your car, you’ll need to start by creating a template. This template will serve as the blueprint for your design. Here’s how you can do it:
Step 1: Tape Paper Over the Trunk
Start by taping a sheet of paper over the areas of the trunk where you want to create the inserts. Make sure the paper is securely attached to the trunk so that it won’t move during the tracing process.
Step 2: Trace the Lip of the Trunk
Using a pencil, lightly trace the lip of the trunk to create an outline on the paper. Take your time and try to be as accurate as possible. This outline will determine the shape and size of your trunk panels.
Step 3: Cut Out the Traced Area
Carefully remove the paper from the trunk once you’re done tracing. Take a pair of scissors and cut out the traced area along the lines you’ve drawn. This will create a cut-out template for your trunk panels.
Step 4: Transfer the Template onto Thin Cardboard
Now, take the cut-out template and place it onto a thin cardboard sheet. Make sure to align the edges of the template with the edges of the cardboard. Use a pencil to trace the cut-out area onto the cardboard, marking one side as “right” and the other side as “left”. This will help you remember the orientation of the template when it’s time to assemble the trunk panels.
Creating a template is a crucial first step in the process of making custom trunk panels. It allows you to visualize your design and ensures that your panels will fit perfectly into the trunk. Once you have your template ready, you can move on to the next step of the DIY process.

Now that you have a template, you’re ready to start bringing your design ideas to life.
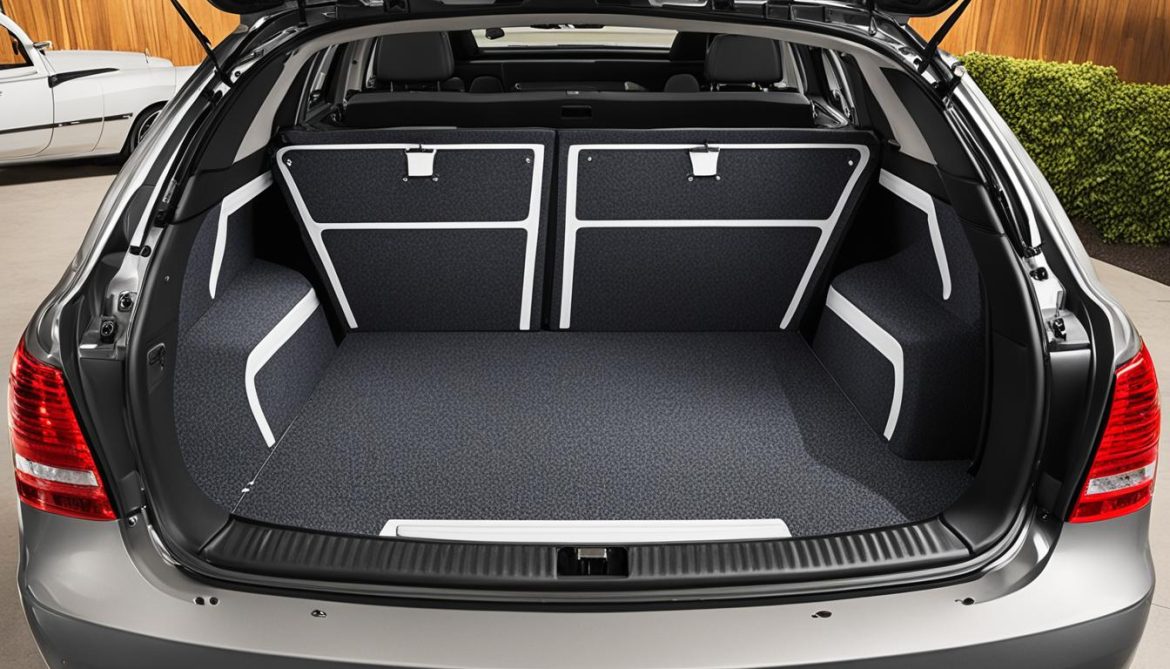
Assembling the Panels
Once you have the template, it’s time to assemble the trunk panels. Follow these trunk panel installation tips:
- Cut out the template on the thin cardboard, leaving a 1/4″ surplus around the edges.
- Apply hot melt glue to the cardboard.
- Place the filler material, such as a 1/2 inch batten, on top of the glue.
- Let the glue cool and then trim the excess fabric, leaving a 1/4″ surplus.
- Apply hot melt glue to the surplus fabric and press it onto the cardboard, creating a secure bond.
- Trim off any excess fabric for a clean finish.
- Repeat the process for the other trunk panel.
By following these installation tips, you can ensure a professional and customized look for your trunk panels.
| Trunk Panel Installation Tips |
|---|
| Cut out the template with a 1/4″ surplus |
| Apply hot melt glue to the cardboard |
| Add filler material on top of the glue |
| Trim excess fabric with a 1/4″ surplus |
| Glue and press surplus fabric onto the cardboard |
| Trim off any excess fabric |
| Repeat for the other panel |
With the panels properly assembled, you’re one step closer to completing your custom trunk panel project. Now it’s time to add the final touches and install them in your car’s trunk. Continue to the next section for the finishing steps!
Final Touches and Installation
To complete your custom trunk panels, it’s time to add the final touches. Begin by carefully sanding down any rough edges to ensure a smooth finish. This step is crucial for achieving a professional look. Once you’ve sanded the panels, apply a coat of primer. The primer will not only enhance the overall appearance but also provide a better surface for painting or upholstering.
After allowing the primer to dry completely, you can now unleash your creativity and personalize the panels to match your car’s interior or add a unique touch. Consider using automotive-grade paints for a sleek and durable finish. If you prefer a softer and more luxurious look, you can opt to upholster the panels with fabric of your choice, such as faux leather or suede.
Once the paint or upholstery has dried, it’s time to install the panels. Carefully slip them into the recessed areas of your car’s trunk. Trim any excess material as needed to ensure a perfect fit. Take a step back and admire your custom creation. You’ve successfully upgraded the look of your car’s interior through this rewarding automotive DIY project.
FAQ
What materials and tools do I need to make custom trunk panels?
To make custom trunk panels, you will need a pencil, paper, scissors, thin cardboard, painter’s tape, a hot melt glue gun, and your chosen fabric (such as faux leather or suede).
How do I create a template for the trunk panels?
Start by taping paper over the areas of the trunk where you want to make the inserts. Trace the lip of the trunk lightly with a pencil to create an outline. Cut out the traced area on the line, and then trace the cut-out area onto thin cardboard, marking one side as “right” and the other side as “left”. This will serve as your template for the trunk panels.
How do I assemble the trunk panels?
Cut out the template on the thin cardboard, leaving a 1/4″ surplus around the edges. Apply hot melt glue to the cardboard and place the filler material (such as 1/2 inch batten) on top. Let it cool, then trim the excess fabric. Apply hot melt glue to the surplus fabric and press it onto the cardboard, creating a secure bond. Trim off any excess fabric and repeat the process for the other panel.
What are the final touches and how do I install the custom trunk panels?
Once the panels are assembled, sand down any rough edges and apply a coat of primer. Once dry, you can paint or upholster the panels to match your car’s interior or add a personal touch. To install the panels, slip them into the recessed areas of the trunk and trim them as needed for a perfect fit.
Can I customize the trunk panels to match my car’s interior?
Absolutely! After assembling the panels, you can paint or upholster them to match your car’s interior or add a touch of personal style. Get creative and make it your own!