Whether you want to capture a screenshot or record a video on your Chromebook, there are multiple ways to do it. This guide will walk you through the different methods and shortcuts to easily capture and save your screen captures.
Key Takeaways:
- To capture a screenshot on a Chromebook, you can use the Screenshot key or a keyboard shortcut like Shift + Ctrl + Show windows.
- You can choose between capturing the full screen, a specific area, or a particular window using the menu at the bottom of the screen.
- To record a video of your Chromebook’s screen, press Shift + Ctrl + Show windows and select the desired recording option.
- All screenshots and recordings are automatically saved to the “Downloads” folder, with the option to change the location in the settings.
- You can access and manage your captures through the Files app or customize the save location via the Settings menu.
Using the Screenshot Key on Chromebook
If your Chromebook has a dedicated Screenshot key, capturing a screenshot is as simple as pressing that key. This convenient feature is usually located on the top row of the keyboard, making it easily accessible for quick captures. With just one press of the Screenshot key, you can effortlessly save an image of your screen for later use or sharing.
If, however, your Chromebook doesn’t have a dedicated Screenshot key, don’t worry – there’s still a straightforward solution. By using the keyboard shortcut Shift + Ctrl + Show windows, you can take a screenshot on your Chromebook. This keyboard shortcut is designed to capture the entire screen, ensuring that you don’t miss any important details in your screenshots.
Whether you have a Screenshot key or not, your Chromebook offers additional options for capturing specific areas or windows. By utilizing specific keyboard shortcuts or accessing the menu at the bottom of the screen, you can customize your screenshot to include only the necessary elements.
To make the process even more intuitive, Chromebook provides visual cues and instructions to guide you through the screenshot capture options. This ensures that even if you’re new to Chromebook or unfamiliar with the shortcuts, you can easily navigate the interface and select the desired capture settings.
Chromebook Screenshot Shortcuts
Chromebook offers a variety of keyboard shortcuts for taking screenshots:
- Screenshot Key: Press the dedicated Screenshot key (if available) to capture a screenshot.
- Shift + Ctrl + Show windows: Use this keyboard shortcut to capture the entire screen when there is no dedicated Screenshot key.
- Additional shortcuts: Chromebook provides additional keyboard shortcuts to capture specific areas or windows. Access these shortcuts by referring to the Chromebook’s user manual or exploring the menu at the bottom of the screen.
By familiarizing yourself with these shortcuts and options, you can swiftly and efficiently capture screenshots on your Chromebook, enhancing your productivity and enabling more effective communication.
Taking a Partial or Window Screenshot on Chromebook
If you need to capture only a specific portion of your Chromebook screen or a particular window, you can easily do so using the built-in screenshot tools. This feature allows you to focus on capturing the essential details without including unnecessary elements.
To capture a partial screenshot on your Chromebook, follow these steps:
- Press the Screenshot key on your Chromebook’s keyboard or use the keyboard shortcut Shift + Ctrl + Show windows.
- A menu will appear at the bottom of the screen. Select the “Partial screenshot” option.
- Adjust the size and position of the screenshot by using the keyboard arrow keys. This allows you to capture the exact area you want to highlight.
- Once you’re satisfied with the positioning, press the Enter key to capture the partial screenshot.
If you prefer to capture a specific window instead of a partial screenshot, simply select the “Window screenshot” option from the menu. This will allow you to choose the desired window to capture, ensuring that only its contents are included in the screenshot.
By utilizing these screenshot options, you can tailor your captures to meet your specific requirements, whether it’s highlighting a specific section of a webpage, showcasing an important document, or sharing a particular application interface.
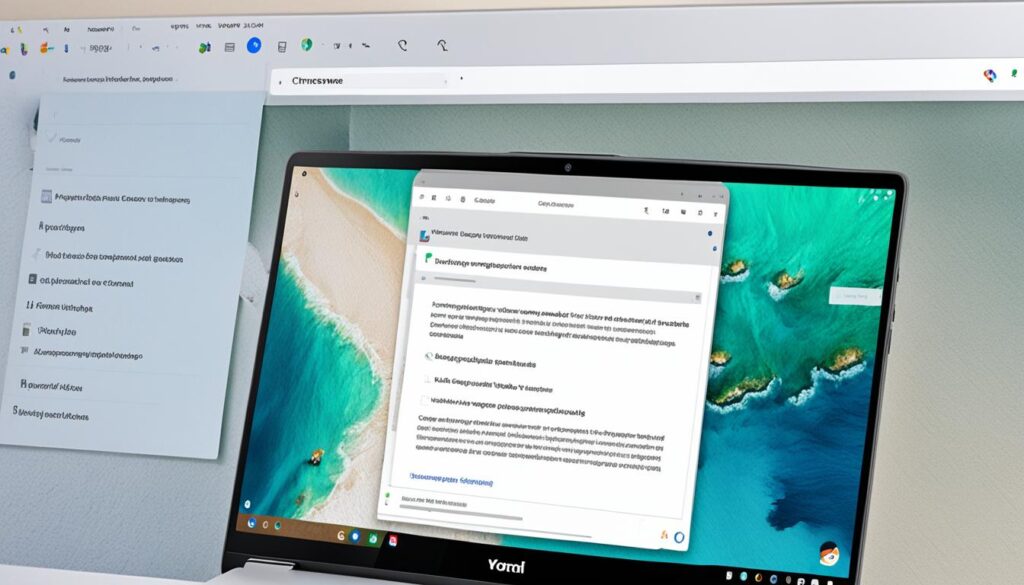
To provide you with a visual reference, here’s an example of a partial screenshot captured using a Chromebook:

| Partial Screenshot Shortcut | Description |
|---|---|
| Press Screenshot key | Quickly captures a partial screenshot of the selected area on your Chromebook. |
| Keyboard Shortcut: Shift + Ctrl + Show windows | Alternatively, use this keyboard shortcut to access the menu for selecting the “Partial screenshot” option. |
Recording a Video of Your Chromebook Screen
In addition to capturing screenshots, you can also record a video of your Chromebook’s screen. This feature comes in handy for creating tutorials, presentations, or simply capturing moments on your device. With just a few simple steps, you’ll be able to record your screen effortlessly.
To start recording, press the Shift + Ctrl + Show windows keys simultaneously. This key combination activates the screen recording feature on your Chromebook. Once activated, a menu will appear at the bottom of the screen, giving you different options for recording your video.
Selecting the Recording Area
The menu will allow you to choose whether you want to record the full screen, a specific area, or a particular window. This flexibility ensures that you can tailor your recordings to meet your specific needs. Simply click on the corresponding option in the menu to make your selection.
If you choose to record a specific area, you can adjust the size and position of the recording box by using your keyboard’s arrow keys. This allows you to capture only the portion of the screen that you want, perfect for focusing on specific content or details.
Stopping the Recording
When you’re ready to stop the recording, click on the “Stop recording” button located on the bottom-right corner of the screen. This will immediately end the recording and save it to your Chromebook.
By default, all recorded videos are saved in the “Downloads” folder on your device. However, if you prefer to save them in a different location, you can customize the save destination in the Chromebook settings.
Recording videos of your Chromebook’s screen can be a powerful tool for various purposes. Whether you’re creating educational content, demonstrating a process, or sharing memorable moments, having the ability to record your screen makes it easy and convenient.
Accessing and Managing Your Screenshots and Recordings
After capturing a screenshot or recording, it is automatically saved to the “Downloads” folder on your Chromebook. To access your screenshots and recordings, you have two options:
- Using the Files app:
- Click on the “Launcher” (the circle icon in the bottom left corner of the screen) to open the app drawer.
- Search for and click on the “Files” app.
- In the left-hand sidebar, click on “Downloads.”
- Locate your screenshots or recordings, and you can now access or manage them as needed.
- Changing the default folder:
- Press Shift + Ctrl + Show windows simultaneously. This will open the app overview.
- In the bottom-right corner of the screen, click on the gear icon to access the Settings menu.
- In the Settings menu, scroll down and click on “Advanced.”
- Under the “Downloads” section, click on “Change” to select a new folder for your captures.
You can open the Files app and navigate to the “Downloads” folder to find your captures. Here’s how:
If you prefer to save your captures in a different folder, you can follow these steps:
Whether you encounter difficulties with capturing screenshots on your Chromebook or have questions about managing your captures, there are several resources you can turn to:
- The Chromebook Community: The Chromebook Community provides a platform for users to ask questions, share experiences, and seek assistance from fellow Chromebook users. You can visit the Chromebook Community to post your queries and engage with other users.
- Troubleshooting Options: If you’re experiencing issues with capturing screenshots, you can explore troubleshooting options provided by Google. Visit the Chromebook Help Center for in-depth troubleshooting guides and step-by-step instructions to resolve common problems.
By following these steps and utilizing the available resources, you can easily access and manage your screenshots and recordings on your Chromebook.
Utilizing Quick Settings and the Screen Capture Toolbar
One of the convenient features offered by Chromebook is the screen capture toolbar, which can be accessed through Quick Settings. To launch the toolbar, simply click on the time displayed on the Chromebook’s Shelf. From the Quick Settings menu, select “Screen Capture.” This will bring up the screen capture toolbar, providing a range of options for capturing screenshots and recording videos.
The screen capture toolbar allows you to capture the full screen, a specific area, or a window, depending on your needs. You can easily choose the desired option from the toolbar. In addition, the toolbar includes additional settings such as microphone control, enabling you to record audio along with your screen recordings.
To quickly access your most recent captures, Chromebook’s Shelf includes a Tote area where your screenshots are stored. This feature allows for easy retrieval of frequently used captures, saving you time and effort.
FAQ
How can I take a screenshot on a Chromebook?
There are several ways to take a screenshot on a Chromebook. You can use the Screenshot key, which is usually located on the top row of the keyboard, or the keyboard shortcut Shift + Ctrl + Show windows. You can also use the menu at the bottom of the screen to select the type of screenshot you want to capture.
How do I take a partial or window screenshot on a Chromebook?
To take a partial screenshot, press the Screenshot key or use the keyboard shortcut Shift + Ctrl + Show windows, and select the option from the menu at the bottom of the screen. Adjust the size and position of the screenshot using the arrow keys. For a window screenshot, select the window option from the menu.
Can I record a video of my Chromebook screen?
Yes, you can record a video of your Chromebook’s screen. Press Shift + Ctrl + Show windows to activate the screen recording feature. Select the recording option from the menu at the bottom of the screen. To stop the recording, click “Stop recording” on the bottom right of the screen. The recorded videos are saved in the “Downloads” folder by default.
How do I access and manage my screenshots and recordings on a Chromebook?
After capturing a screenshot or recording, it is automatically saved to the “Downloads” folder on your Chromebook. To access your captures, open the Files app and navigate to the “Downloads” folder. You can also change the default location in the settings. If you’re having issues, you can seek help from the Chromebook community or explore troubleshooting options.
Can I use a screen capture toolbar on my Chromebook?
Yes, Chromebook offers a screen capture toolbar accessible through Quick Settings. By clicking on the time on the Chromebook’s Shelf, select “Screen Capture” to launch the toolbar. It provides options for capturing screenshots and recording videos, including the full screen, a specific area, or a window. Your most recent screenshots can be found in the Tote area of the Shelf for quick access.


